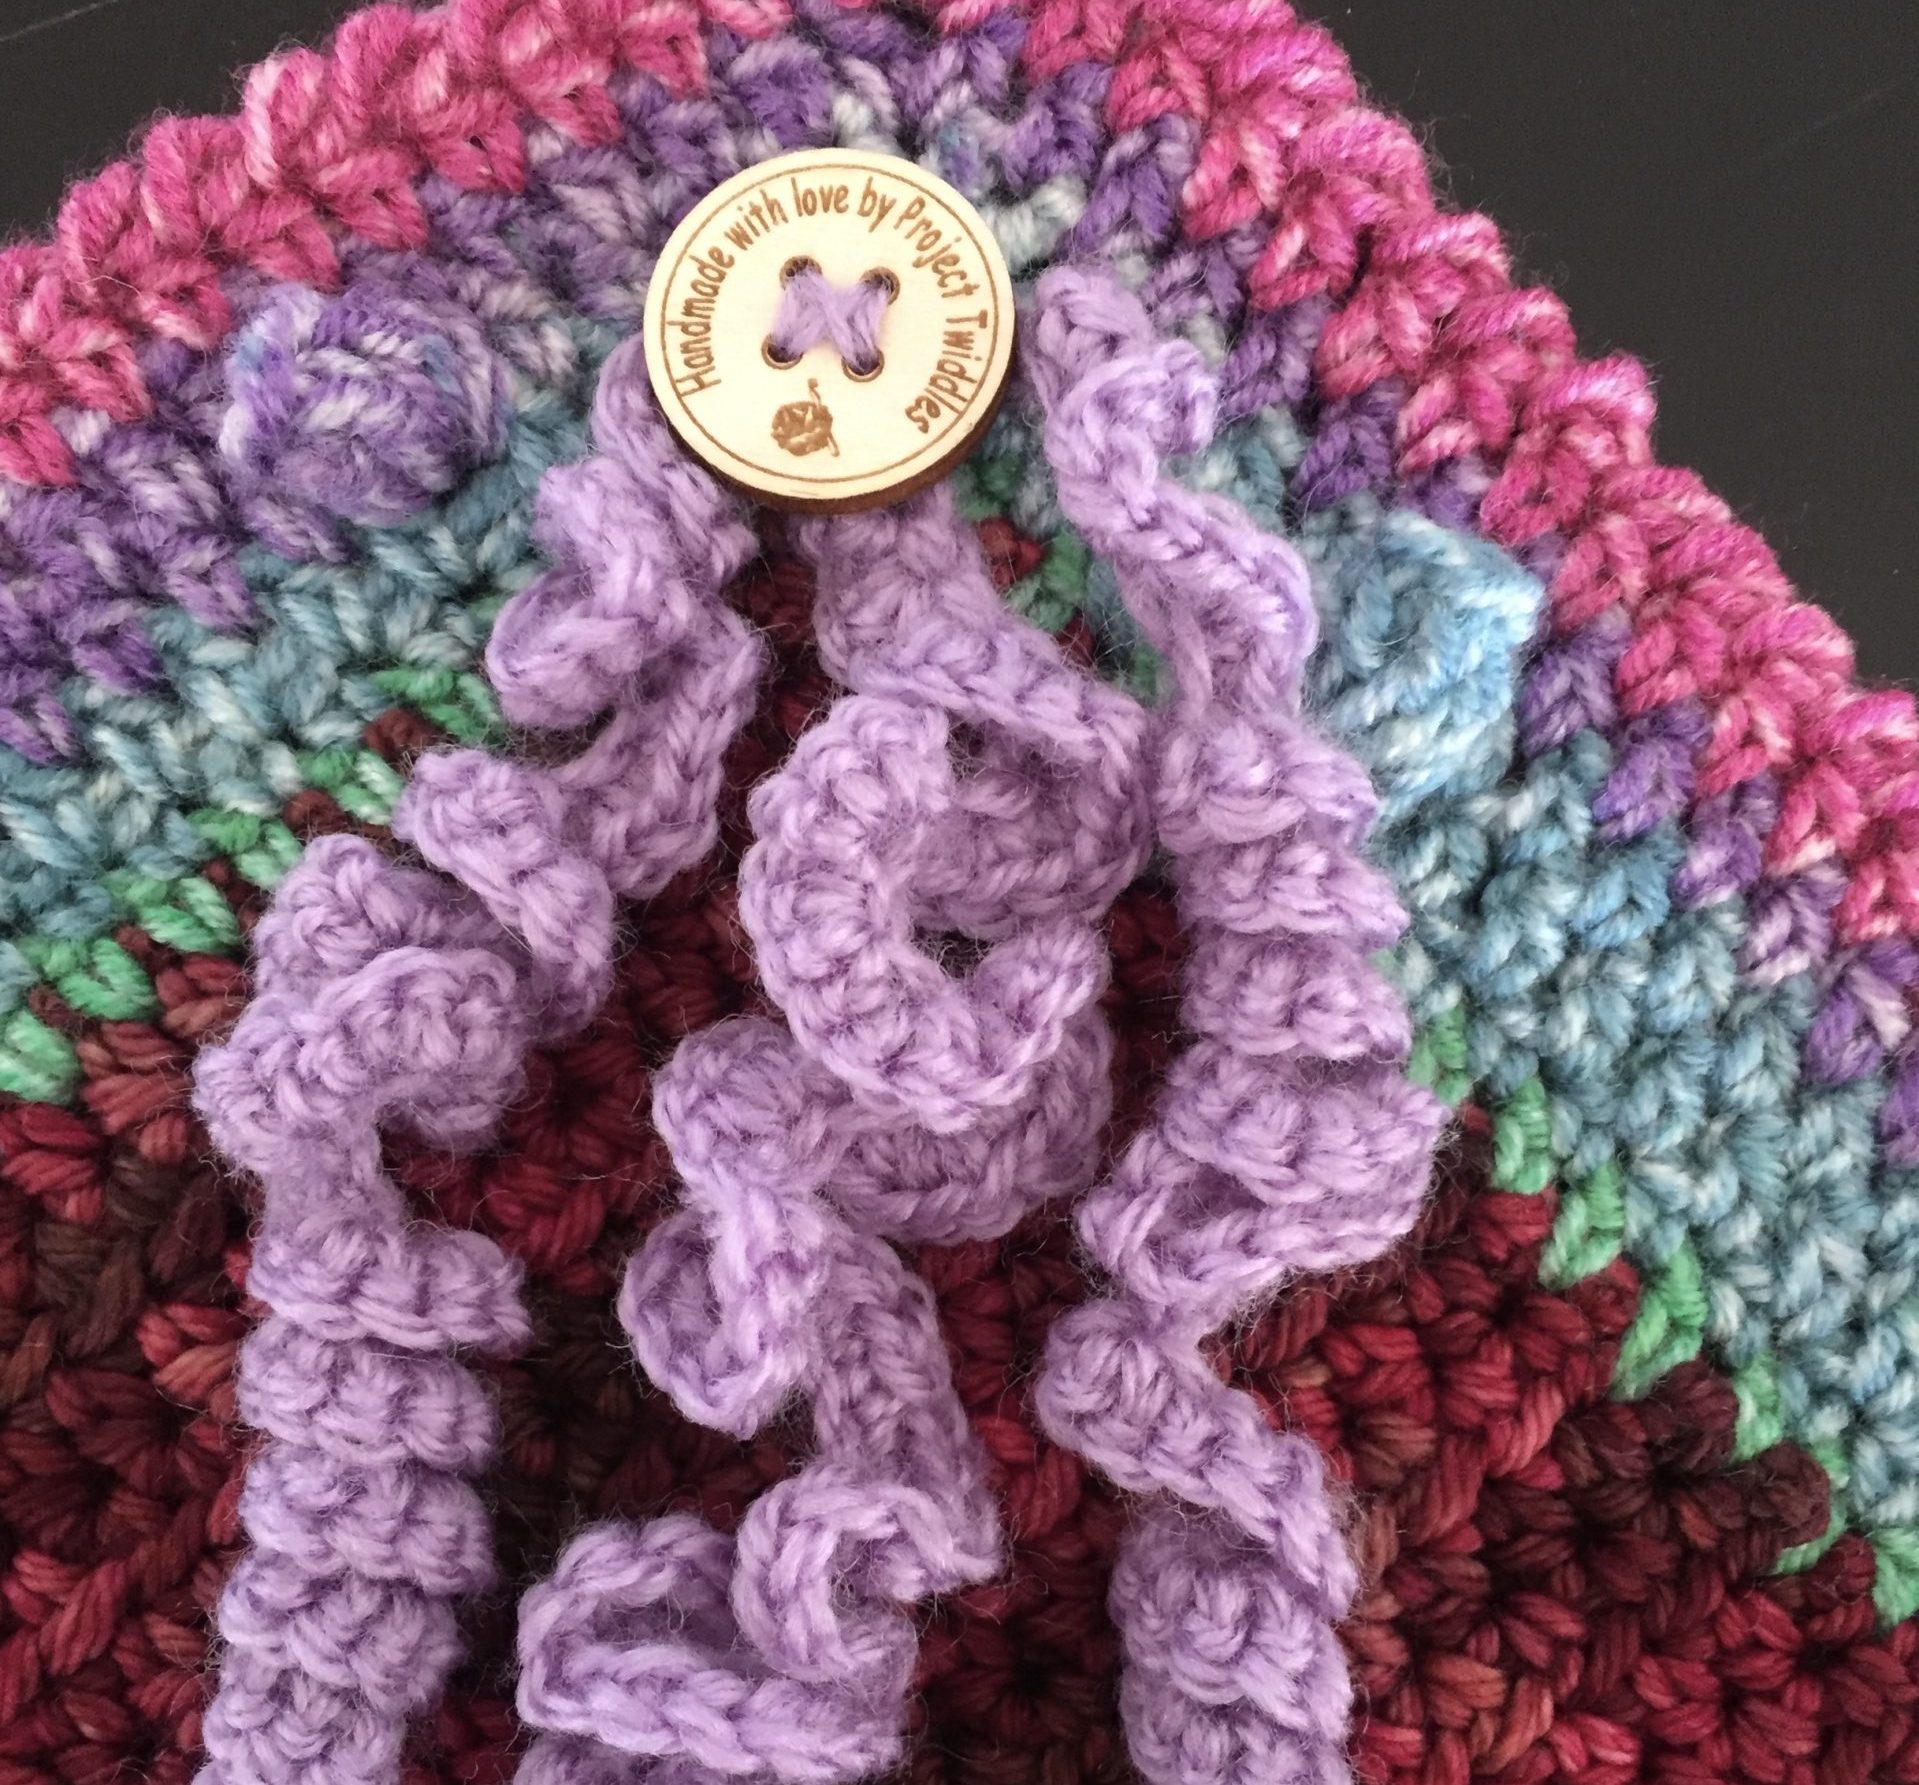
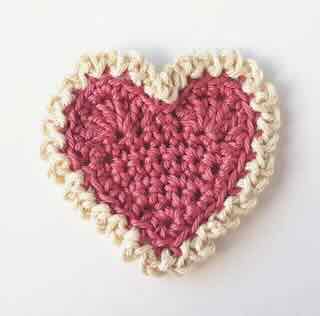
When I make baby blankets and rugs I sometimes add a simple edge or border to finish off. Twiddle mats, however, provide a different opportunity. I consider any edging or border to be integral to the twiddle creation, wonderful sensory opportunities. They can entice hands and minds to engage with the twiddle creation. Fingers can play with the edging and the bits and pieces attached to the border. The whole twiddle creation presents opportunities that keep hands busy and help to calm agitated minds.
Do I want a border or an edging? Which border/edging? What colours will I use? These are questions I am faced with each time I come to the end of of making a twiddle creation. In this post I am sharing my favourite edgings.
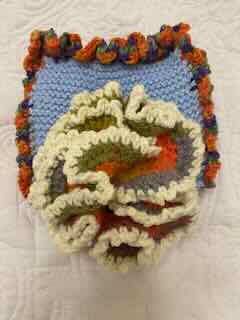
The Twiddles Coral Reef Edging or the ruffle stitch.
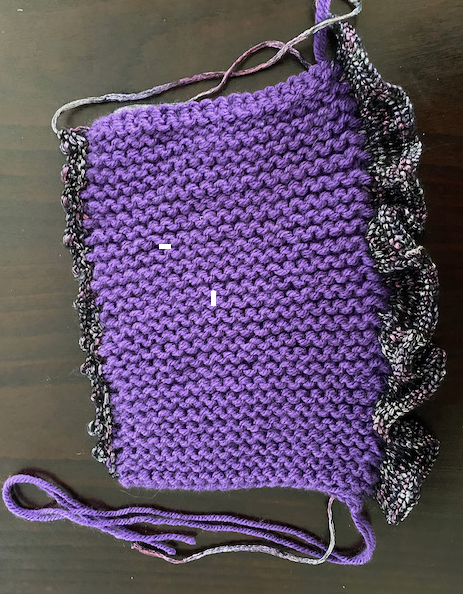
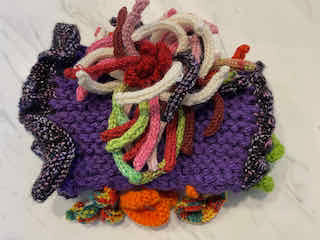
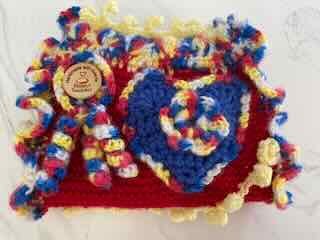
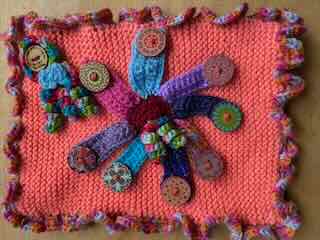
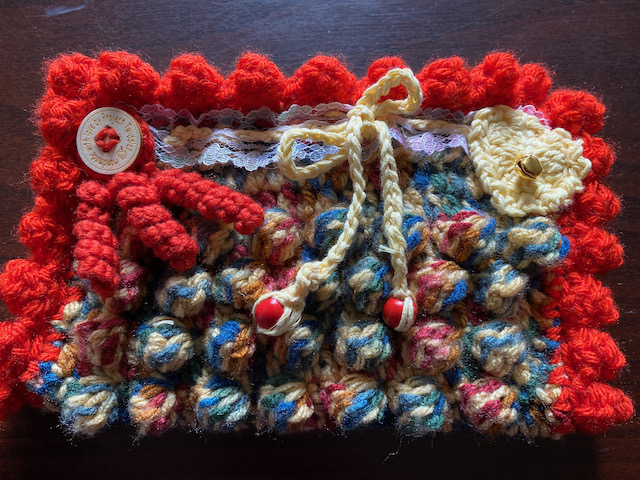
When I find a stitch or twiddle item I like I tend to reuse often. The Project Twiddle Coral Reef edging is a good example and it’s very simple to do. On this edging I use single crochet on the first round and in following rounds I put 2 single crochet stitches into every stitch. When I am happy with how it is looking I stop. If you look through the gallery you will see that I have used the Project Twiddles Coral Reef in lots of different ways.
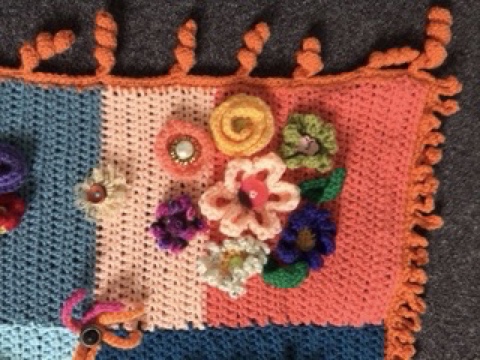
Edging with Twiddle Twirls
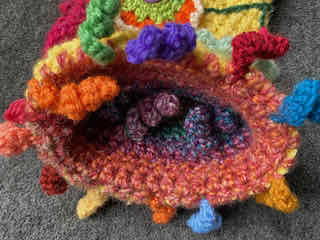
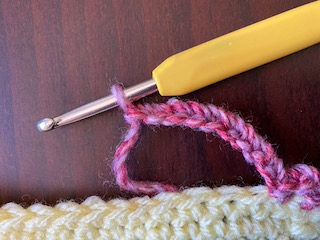
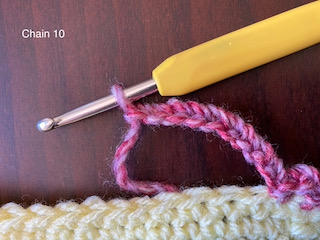
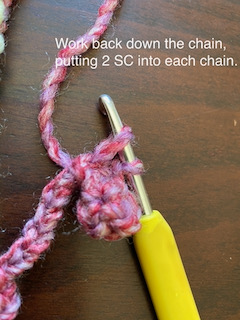
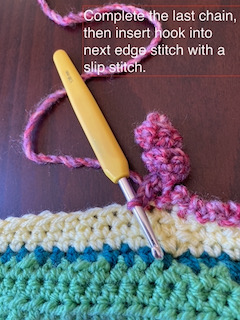
Decorative edging
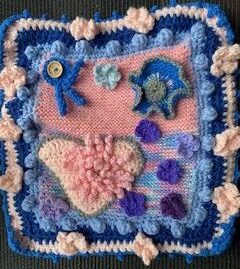
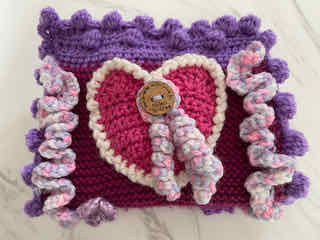
Sometimes I like to finish off with a decorative edge. I have included flowers and bobbles into the border as I crocheted.
On the edging its a simple picot stitch all the way round.
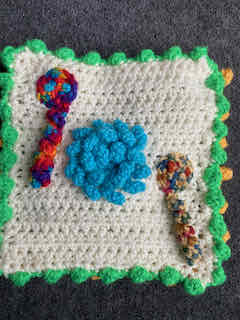
Bobbles on the border!
A favourite stitch to add at any time. Sometimes I use the popcorn stitch. These stitches disrupt the texture with bumps.
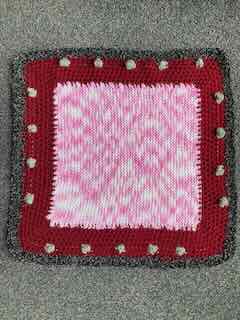
Once again, lots of examples of bobble and popcorn stitch on the internet.
Borders for depth
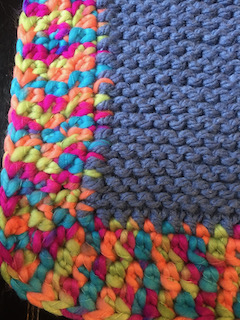
The border can add depth and interest to a mat / blanket. If you have lots of squares, rectangles, gauge samples lying around, you can turn them into twiddle mats by adding a large border.
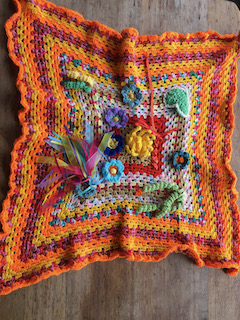
This is a repurposed blanket found in an op shop. I focused on the centre, added a range of twiddle items and the blanket has a new life as a twiddle blanket. Because it is backed I joined the top and backing with a simple edging. Find out more at https://www.projecttwiddles.com/repurposing-granny-square-blankets/
When making a mat or blanket, the interest area to engage hands and minds is in the centre, the piece that sits on the recipient’s lap.
You can keep adding in twiddle items or decorate the rounds if you like. Or stop where you think the mat will sit on the lap is.
Picot Edging
Picot stitches are a quick edging to include on twiddle mats. mats and cuffs. The edging creates interest with a picot stitch being a soothing object for restless hands.
Chain 1. Single crochet into first stitch. Slip stitch into next stitch. Chain 5. Slip stitch into 1st stitch of chain to create a picot. Single crochet into next stitch. Repeat. The chain size determines the size of the picot so have fun varying it. Also, the number of single crochet stitches between each picot can vary too.
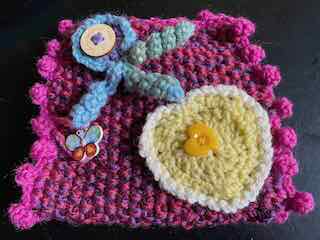
Variations of the Picot Edging
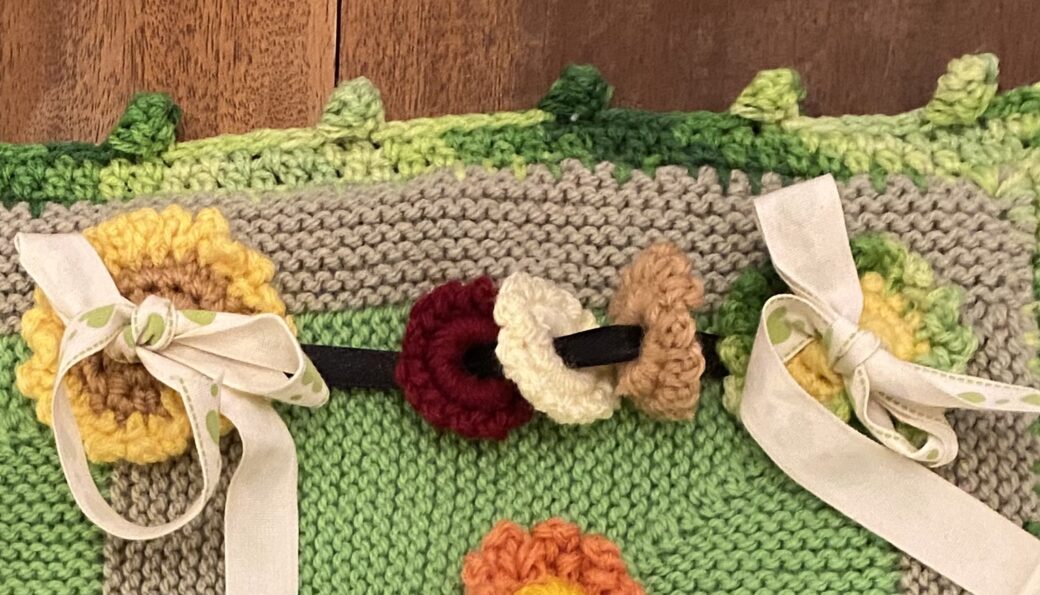
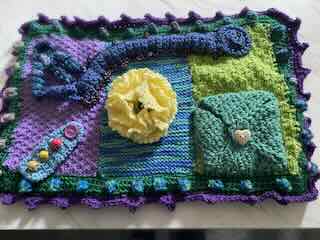
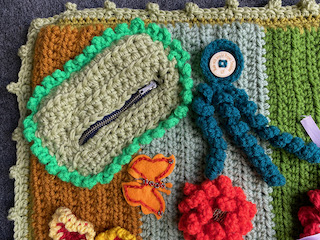
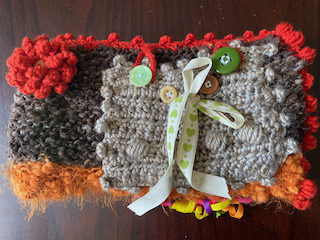
My favourite edging
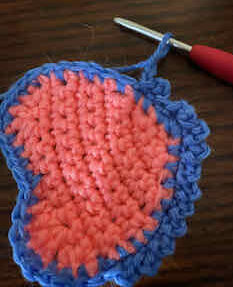
My go to edging. So simple – a pretty finish to your twiddle creation, also in the photo at the top of the page.
In first stitch, chain 2 and in next stitch place a slip stitch and chain 2. Continue around your twiddle creation to end.
Crab Stitch
As an alternative to the simple edging above, you could have fun with the crab stitch (crochet), the backwards single crochet stitch, ie, you are doing the same stitches but in reverse. Chain 1, insert your hook into the next stitch on your right, yarn over and pull up a loop. You have 2 loops on your hook, yarn over and pull through both loops to complete the stitch. Repeat the process around your twiddle creation. Sometimes I chain 2 stitches like the edging below to exaggerate the stitch.
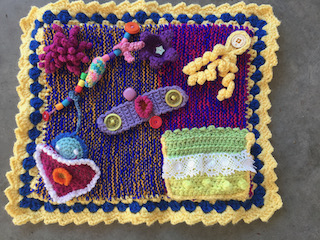
Borders to enhance Twiddle Surprises
Twiddle surprises are such fun to make. By firmly attaching them to your Twiddle creation they remain secure on the twiddle mat, muff or cuff, providing hands and minds with lots of hours of comfort
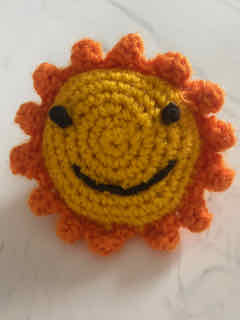
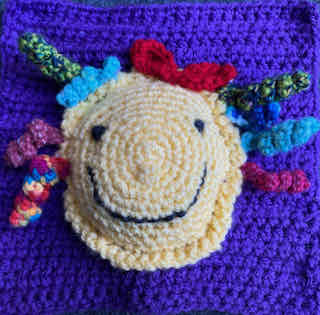
There are lots of opportunities to add interesting edges. In this twiddle surprise sun I joined two round pieces together with 1 row of single crochet. On the second row I make the spikey stitch. In the first stitch, chain 3, 1 double crochet in next stitch and 1 chain 3 in next stitch, slip stitch into next stitch and repeat pattern all round the object. I always experiment with a group of stitches to work out what I like best.
And the spikey stitch on the edge!
Here is the spikey stitch modified in this cuff. I have joined 2 sides of the cuff together using the spikey stitch. I omitted the single crochet stitch between the spikes. Where I put the slip stitch I did 3 chain for the next spike.
I hope this has given you ideas for your next edgings and borders. Have lots of fun, everyone!
Happy creating!
Sandra @ Project Twiddles