Some of us need recipes and patterns to follow to build up our confidence or to regain our inspiration. This post is for you.
I began with two blank canvases. These were donated squares. Often makers like spending time on making squares or rectangle bases for others to attach twiddle items. The finished twiddle mat is made of 2 pieces, one piece on the front and one used as a backing. Backing is an essential safety measure. Have a read at: Why back a twiddle mat or blanket?
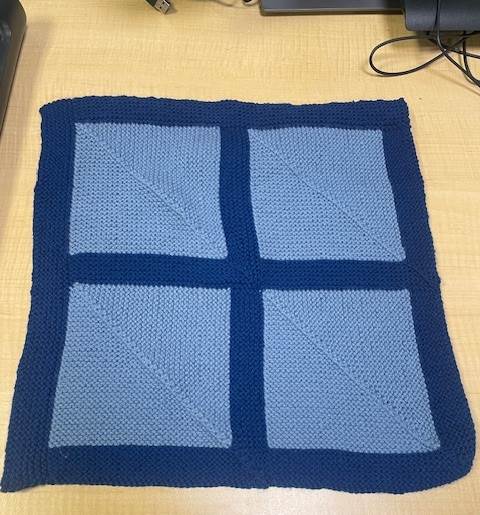
The blank square was approximately 15 inches square / 38 kms. Note this square looks like 4 squares but it is a cleverly worked 1 knitted square piece.
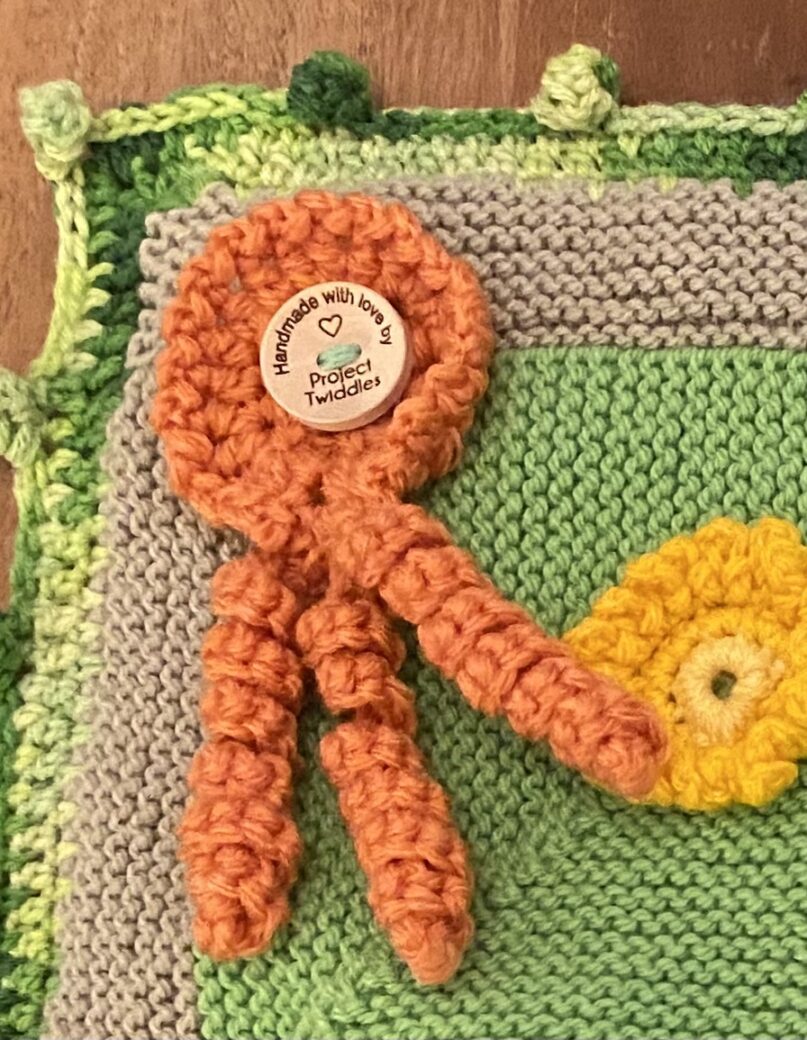
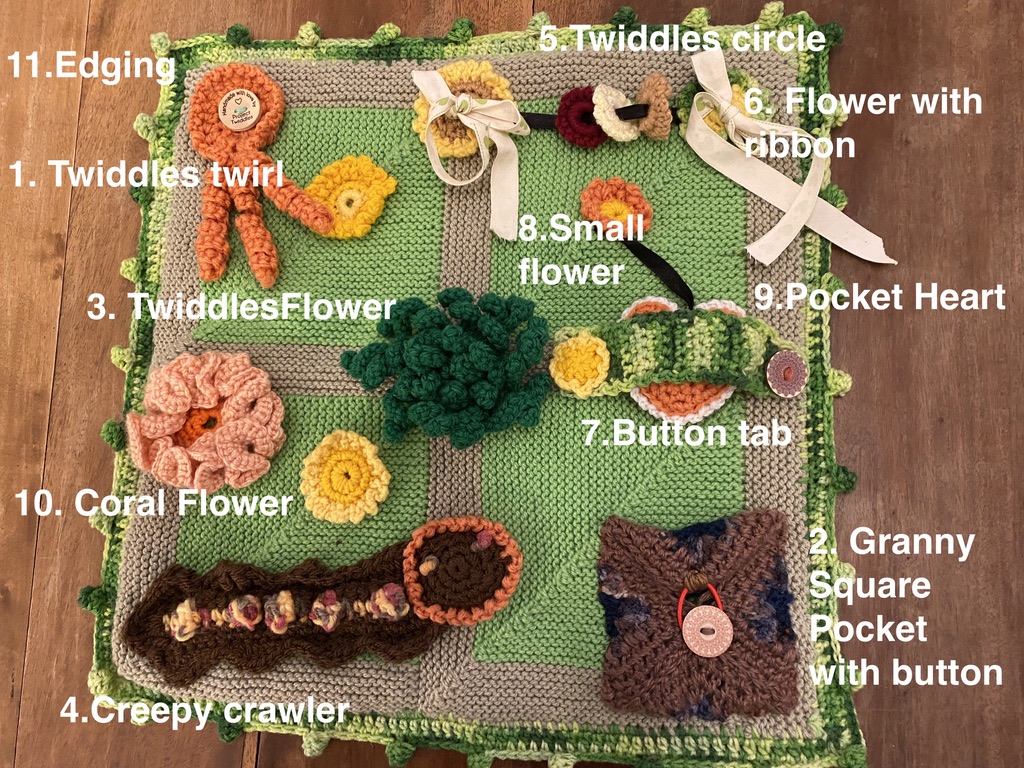
My first twiddle item is a twiddle twirl (Number 1 in the above photo) which I attach on every twiddle creation. Pattern ideas at Project Twiddles Twirls or the knitted version, Knitting project twiddle twirls
The biggest decision I have to make is what colour will I use. Until I am sure where I will finally place it, I attach it to the base with a safety pin. I do not use sewing pins as I worry that it might be forgotten and a recipient will find it and hurt themselves or other people. If you are unsure read Safety First
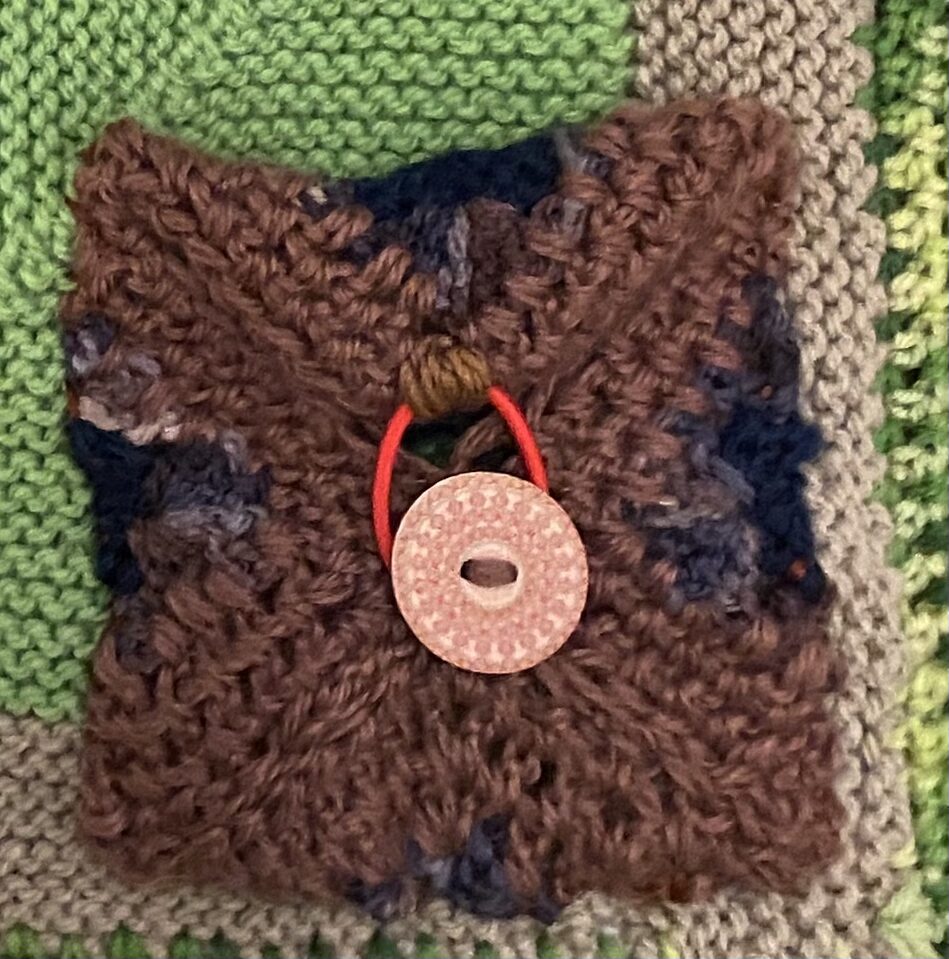
Patients love pockets ( 2 ) to put stuff in. This pocket is made from a discarded granny square. Other ideas can be found at: Everyone loves a pocket! Or looking at the many photos on the website.
If you are using granny squares, do check that the spaces are not too big and become traps for fingers. If you are concerned, just make a square and turn it into a pocket. I have attached a hair tie and button with embroidery thread to keep the contents safe in the pocket but also to provide an extra activity.
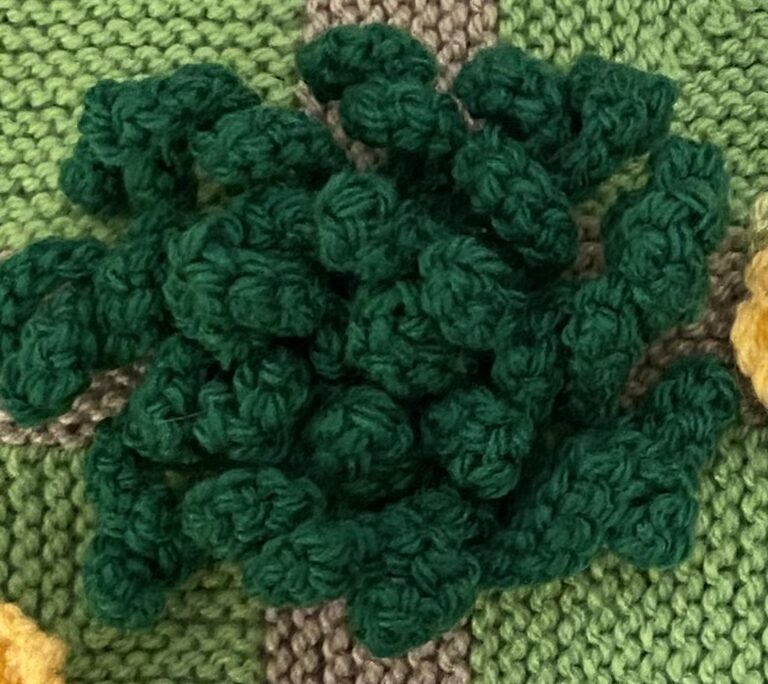
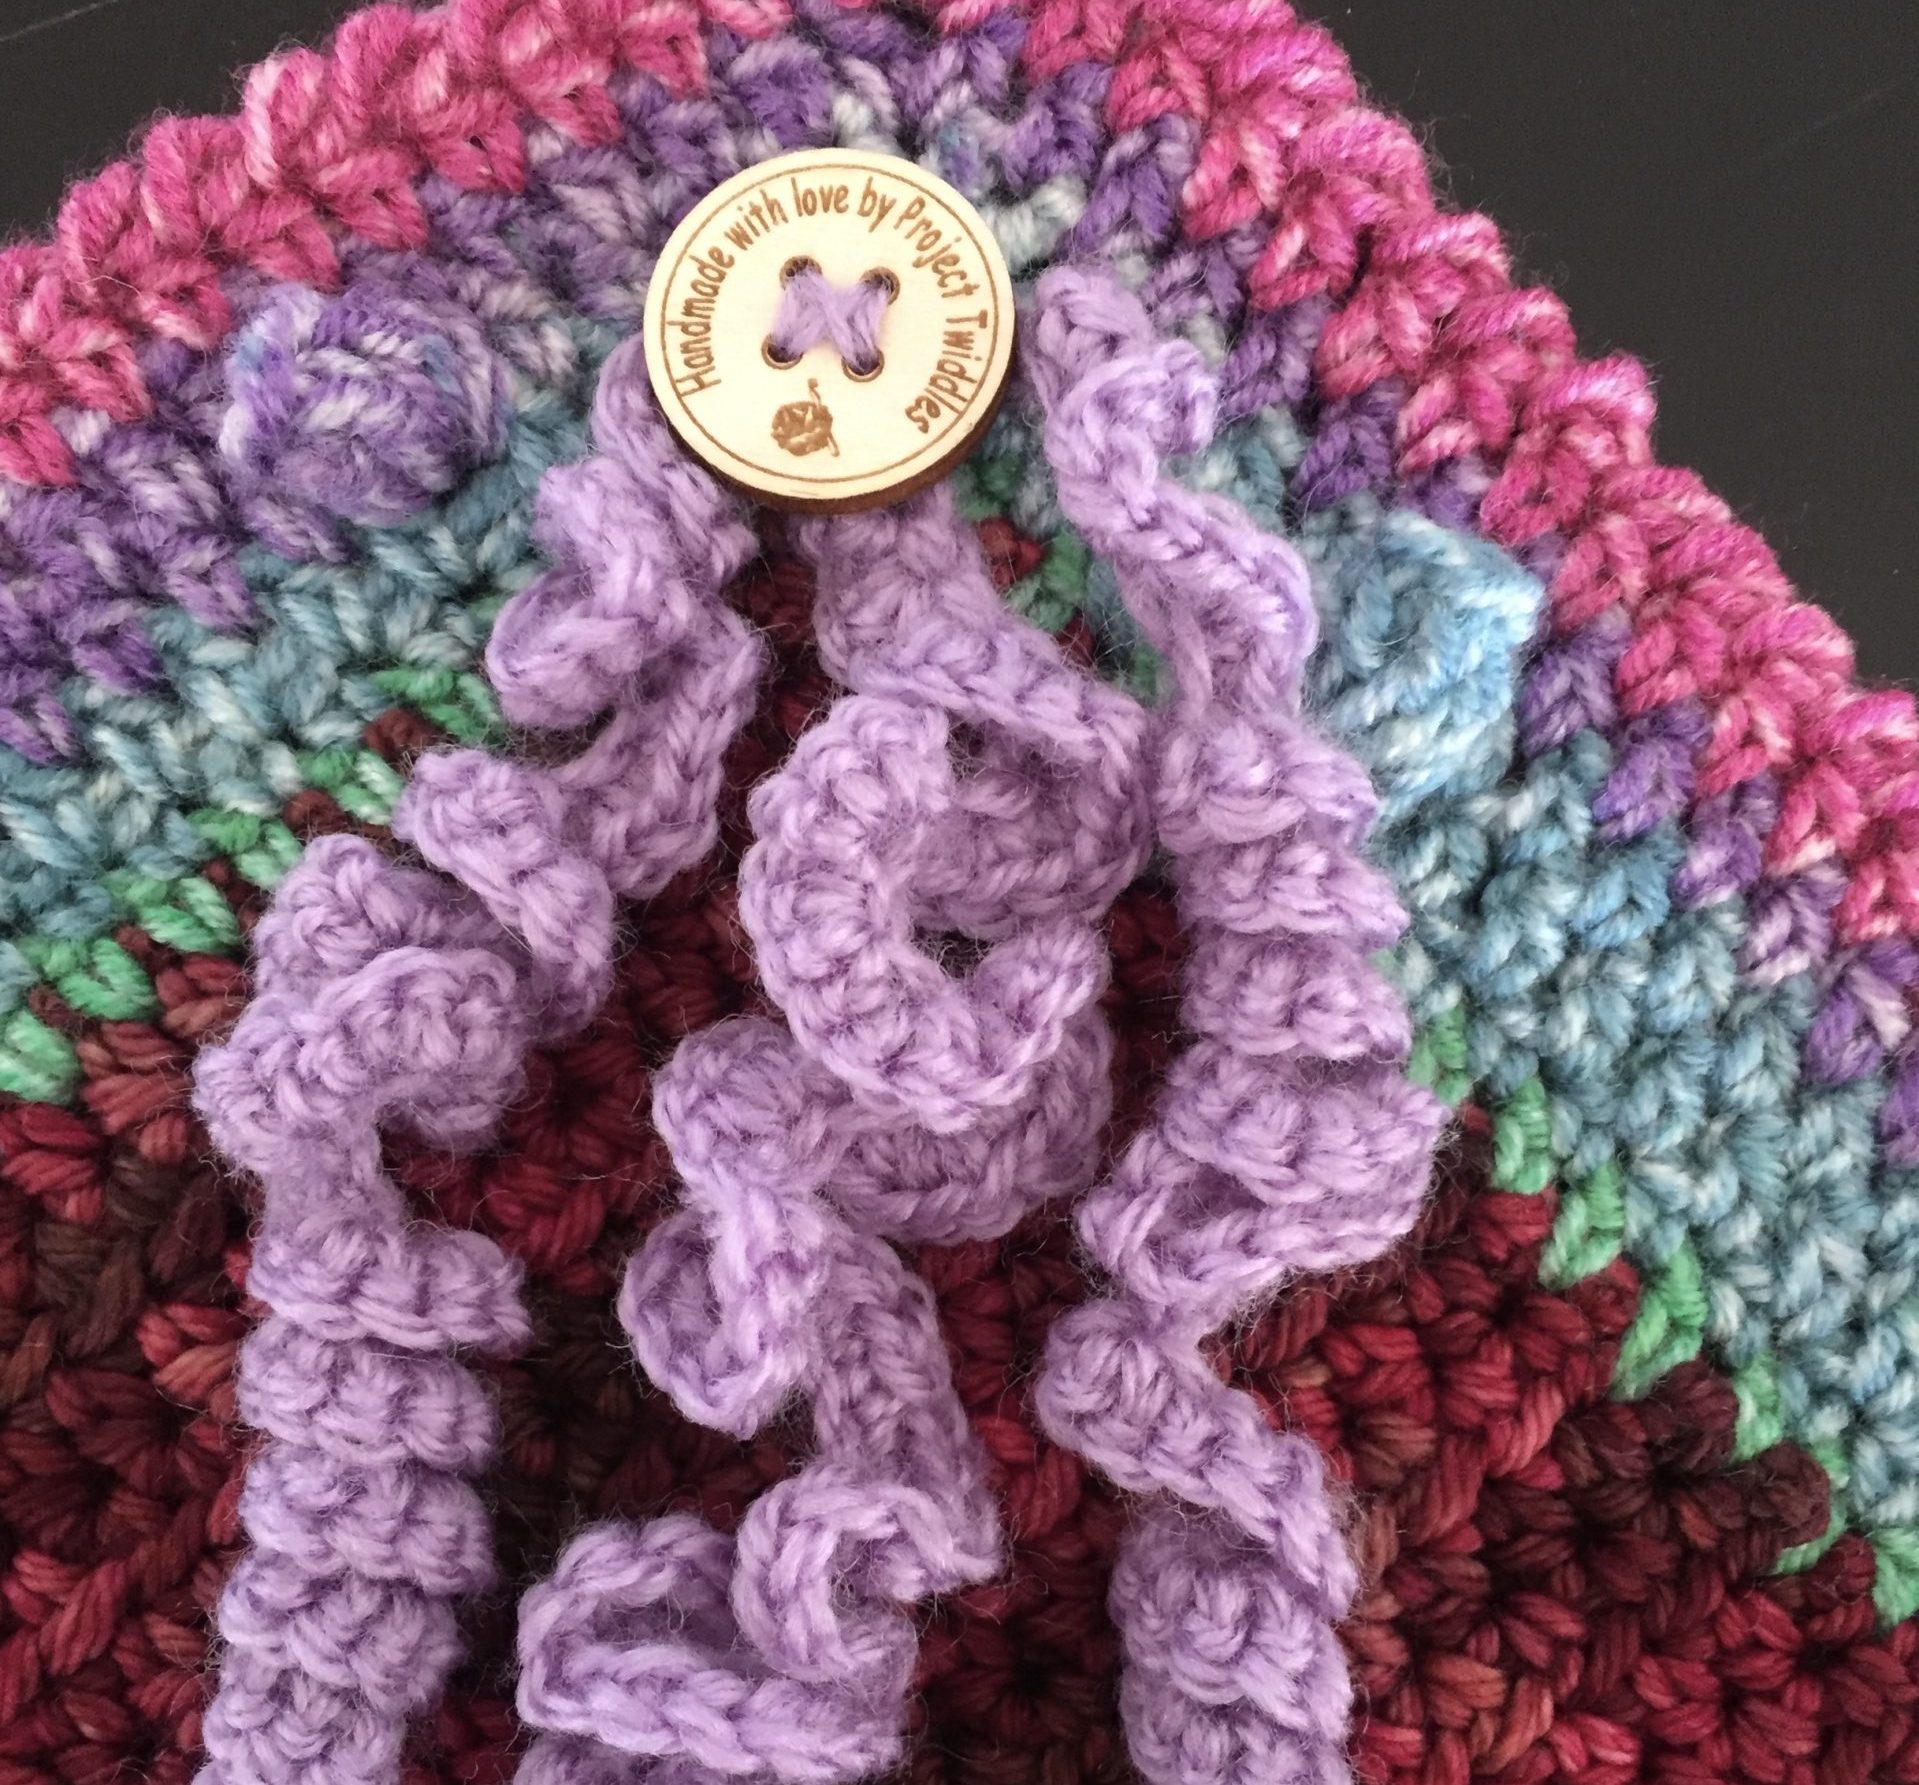
My next twiddle item to make is the project twiddles twirls flower, Project Twiddles Twirls Flower ( 3 ). I love the idea that recipients will run their fingers through the various twirls. These are fun to make in various colours even on the same flower.
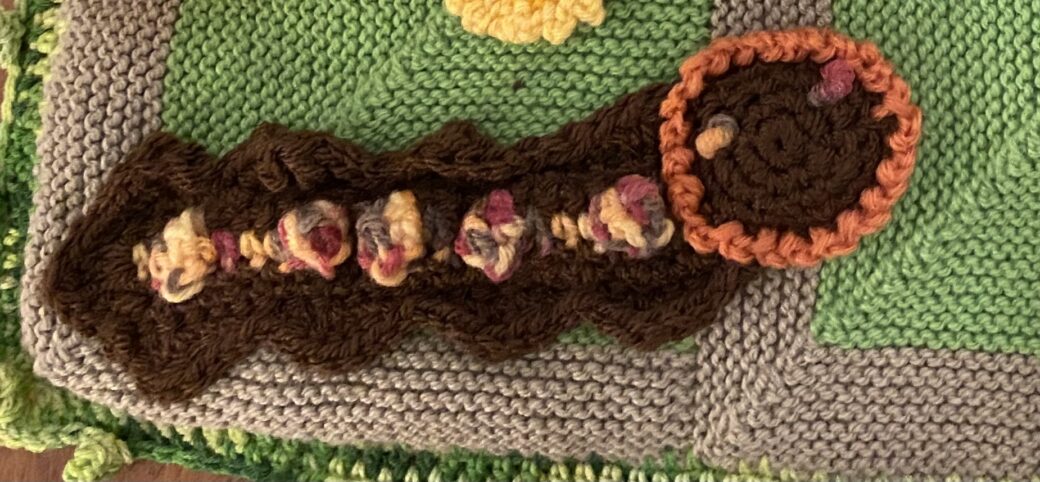
I like making creepy crawlies ( 4 ). Here you can be quite creative in making these twiddles. The purpose is to provide an encasement for small round balls. The recipient can then move these balls around safely without anyone worrying that these small balls could end up in mouths. Have a look at Creepy crawlies for ideas.
At this stage I have placed a twiddle item in 3 corners and the centre. Where to next?
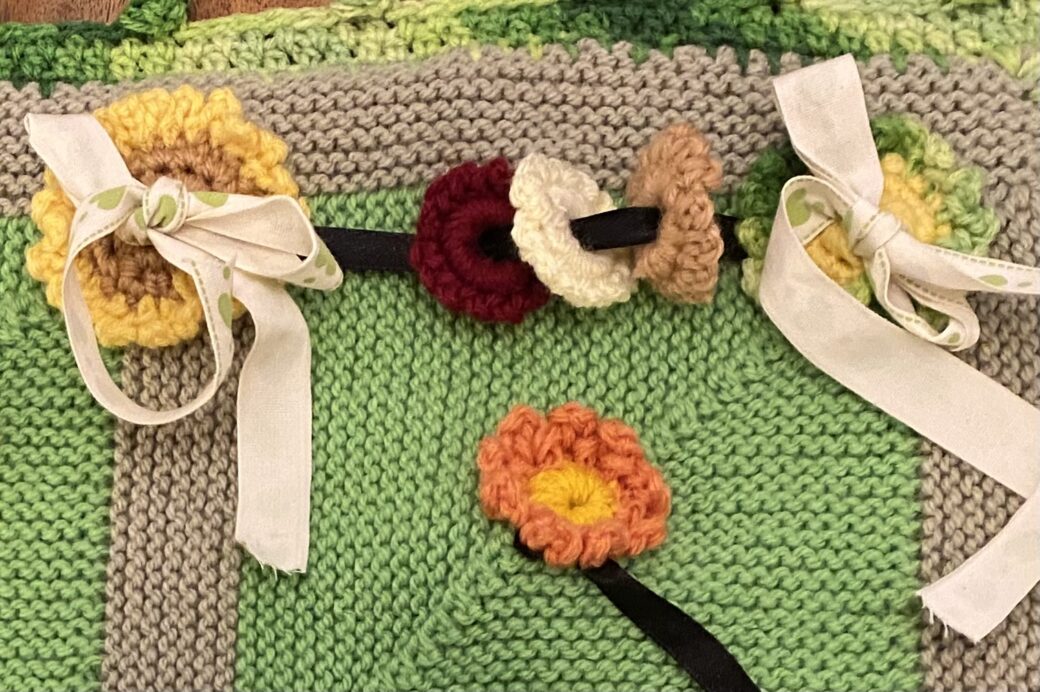
I made some twiddle circles ( 5 ), threaded them onto a small piece of ribbon, and firmly attached the ribbon at each end on to the base with embroidery thread. I made small flowers with ribbons ( 6 )and attached them over the top of the spot where I had sewn in the long ribbon. These bows can be undone and redone and stay firmly attached to the flower and the mat. You can find the small flowers with ribbons here Flower with Ribbon
I made more small flowers without the ribbons ( 7 ) and placed them where I thought there were gaps. One flower I attached at one end of a button tab. At the other end is a button loop and button for the recipient to do up and undo. Button Flaps ( 8 )
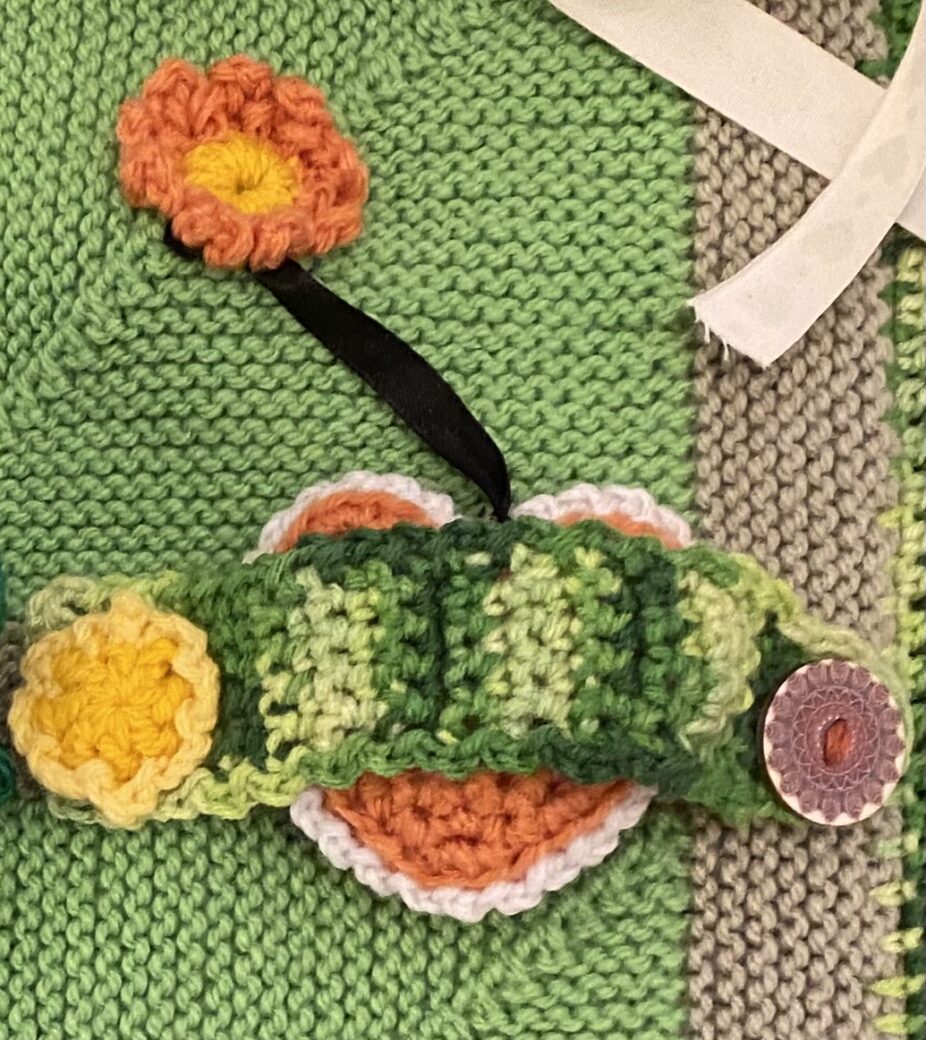
I wanted a a longer flap to keep the pocket heart in place ( 9 ) . Usually I would attach the pocket heart inside a pocket but this time I have used the button flap. To enable the recipient to “play with the heart”. I have attached a short length of ribbon to the heart and placed it under the flower. By doing this the heart pocket won’t be lost.
There are many pocket heart crochet and knitting patterns on the internet. The one I use most often is from Annie Designs at https://www.anniedesigncrochet.com/easy-crochet-stuffed-heart-pattern-free-adorable/.
Instead of hearts you could make small animals, a happy sun face or even a twiddle twirl. The idea is to make them soft and squishy to engage the recipient’s mind and fingers. They make wonderful gifts for friends and families to put in pockets, drawers, bags, wherever they can be accessed..
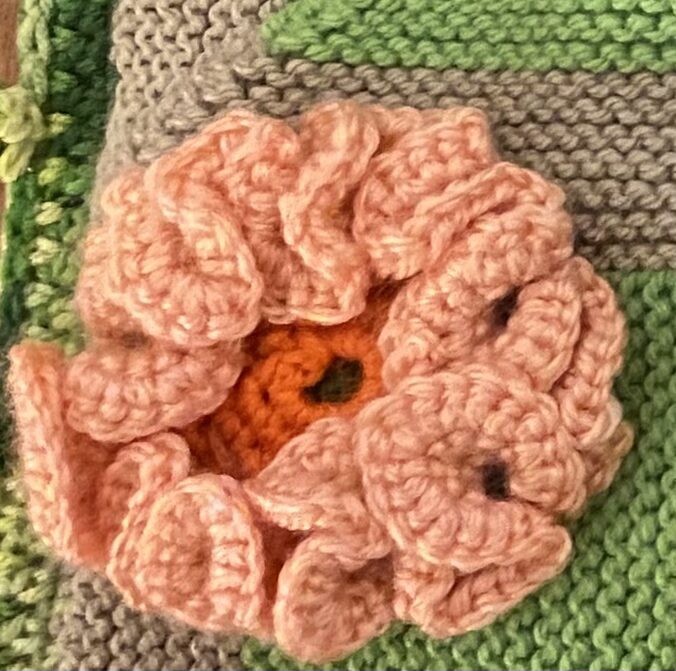
One of my favourite twiddle items to make is the twiddle coral flower. ( 10 ). I came across this flower via the Crochet Coral Reef Project. So easy to make and so beautiful and perfect for fingers to move in. Enjoy making these:
Once I am happy with the number and type of twiddle items on the base I use safety pins to attach the backing, in this case, the second square. I’m ready to make the edging ( 11 ). I crocheted 2 rows of single crochet all around the edges. Sometimes I will make larger edgings. This time to add extra interest I decide to finish with 1 row of bobbles every 5 stitches.
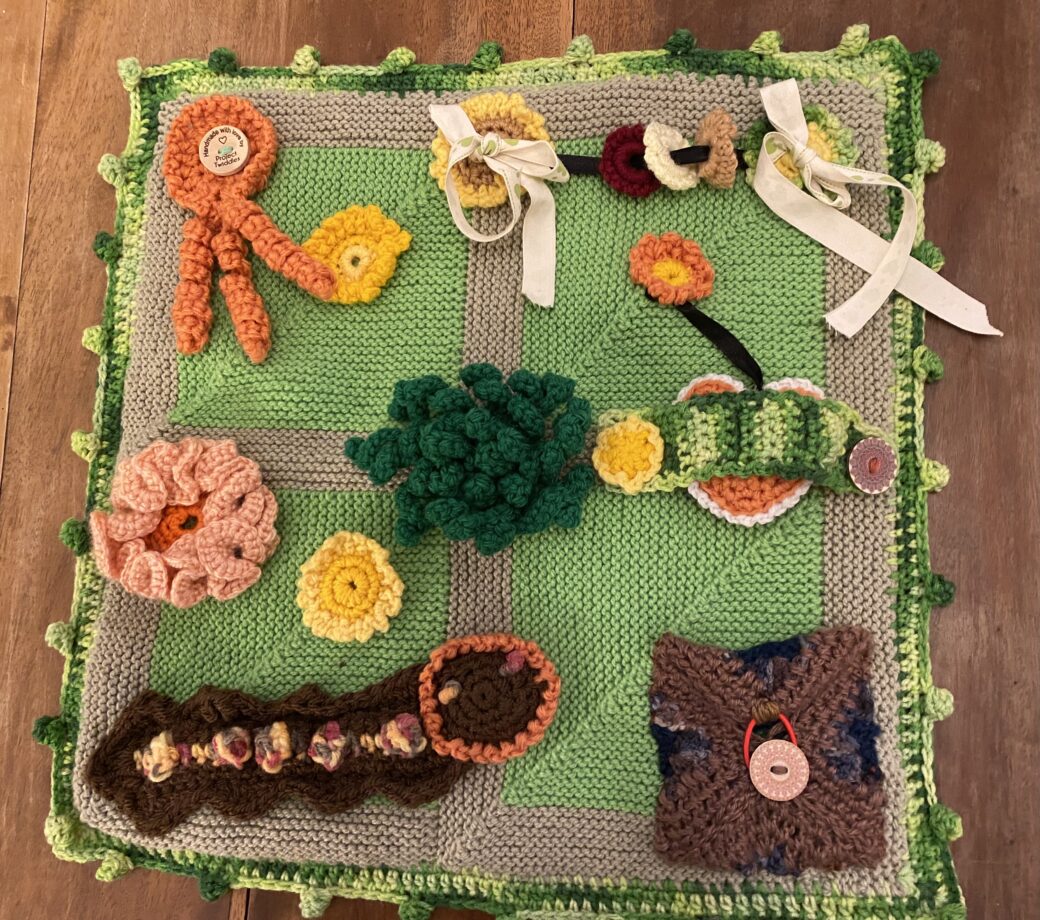
And I have finished the mat. It feels weighty but soft and cuddly. It will sit on a lap, not fall off, and provide interesting twiddle items to play with.
I hope this helps you to have a go at making a twiddle mat.
Happy creating everyone!
Sandra @ Project Twiddles
