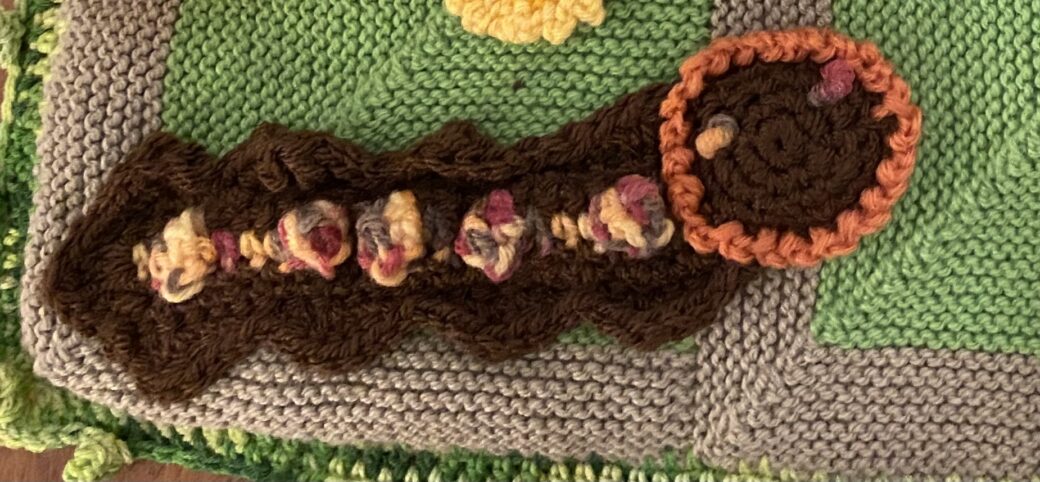
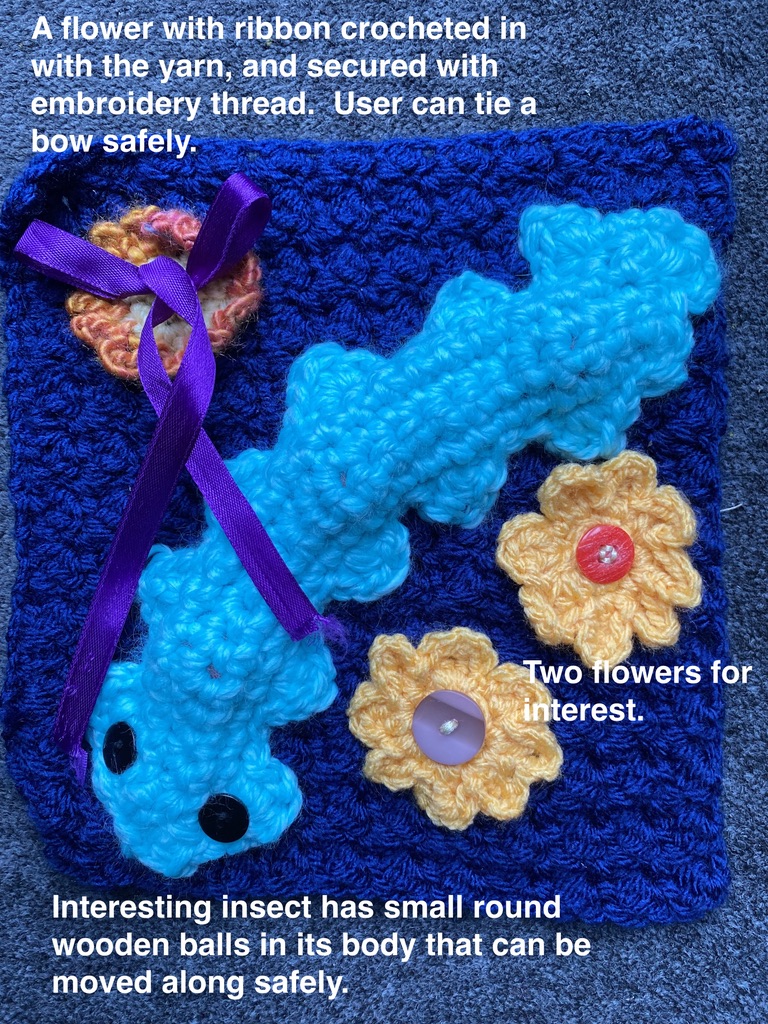
I wanted to use small round balls or beads safely on my twiddle mats, muffs and cuffs. Small beads can appear like sweets, tempting recipients to put them in their mouths. If you use them, please attach very securely with embroidery thread. Distressed patients or patients with dementia can use a lot of force to pull beads or balls off the twiddle creation. I dread that one of my twiddle creations could result in a choking incident.
Creepy crawlies are an excellent solution. Round balls and beads are placed inside a casing. The recipient can then move the balls around. This keeps their fingers busy. Less worry for makers and caregivers.
I have included my ‘free form’ crocheting pattern. Keep in mind as always, that size, width and length are determined by the space where I want to attach it. Once you have mastered the idea, have lots of fun dreaming up your creepy crawlies.
Making the body
Use a smaller size hook than you usually would, so you are confident that no balls or beads can slip out or be picked out.
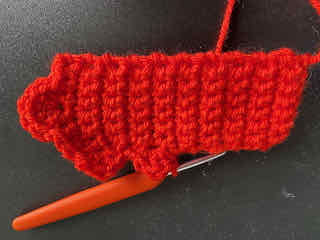
Using a thick yarn or two strands of double knit, make a chain of 6 or 8 stitches.
Row 1 and every following rows place single crochet stitches (5 & 7 stitches).
When you have reached the length of your creepy crawly you want, make a “tail”. In the 2nd or 4th stitch of the last row place 5 double crochet stitches.
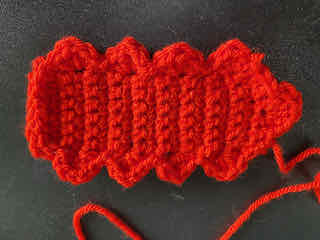
Now it is time for the shell stitches which act as feet. Make a single crochet, 1 half double crochet stitch, 1 double stitch, 1 half double stitch, 1 single crochet (the shell). Then make 1 slip stitch, followed by a shell. Repeat along the side to the end. Use slip stitches to reach the 2nd side. This is where the head will be. Repeat the shell pattern along the 2nd side. Fasten off.
Making the head
Make a small circle – either by chaining 2 stitches, place hook in first chain and make single crochet and 5 more. 6 stitches in total. Alternatively use a magic circle and place 6 stitches in the ring.
Complete the circle by using a slip stitch in the 1st single crochet. Chain 1, place 2 single crochet stitches into each stitch (12 stitches). Finish with a slip stitch.
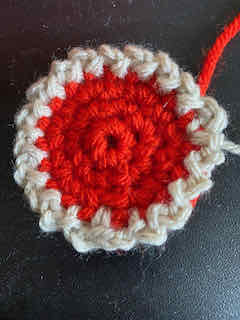
Chain 1, 2 single crochet stitches into same stitch, 1 single crochet stitch into next stitch. Repeat to end of round (18 stitches).
Sometimes I add another row for decorative purpose. With the same yarn, or a different colour, place the yarn anywhere, make 2 chains, slip into next stitch; in next stitch make a slip stitch, 2 chain stitches, repeat round the edge. Fasten off.
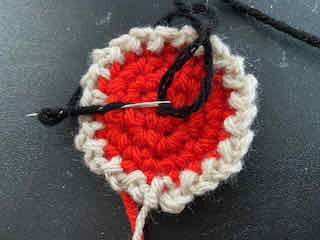
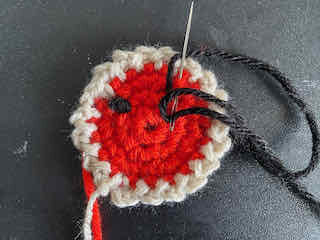
Decide on where you want to place 2 eyes. I use a needle and embroidery thread or yarn. Put the needle into the ‘face’ and wrap the thread around the needle between 6 to 8 times and pull needle through. Secure the thread and fasten off. Make your 2nd eye. I make eyes like this for safety reasons.
Assembling the creepy crawly
Place the body on your twiddle creation. Attach firmly remembering to leave a small opening to put your balls or beads. Close the opening. Add the head. Sometimes I put in some stuffing before I finish stitching it onto the twiddle mat, muff or cuff.
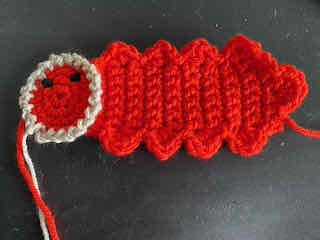
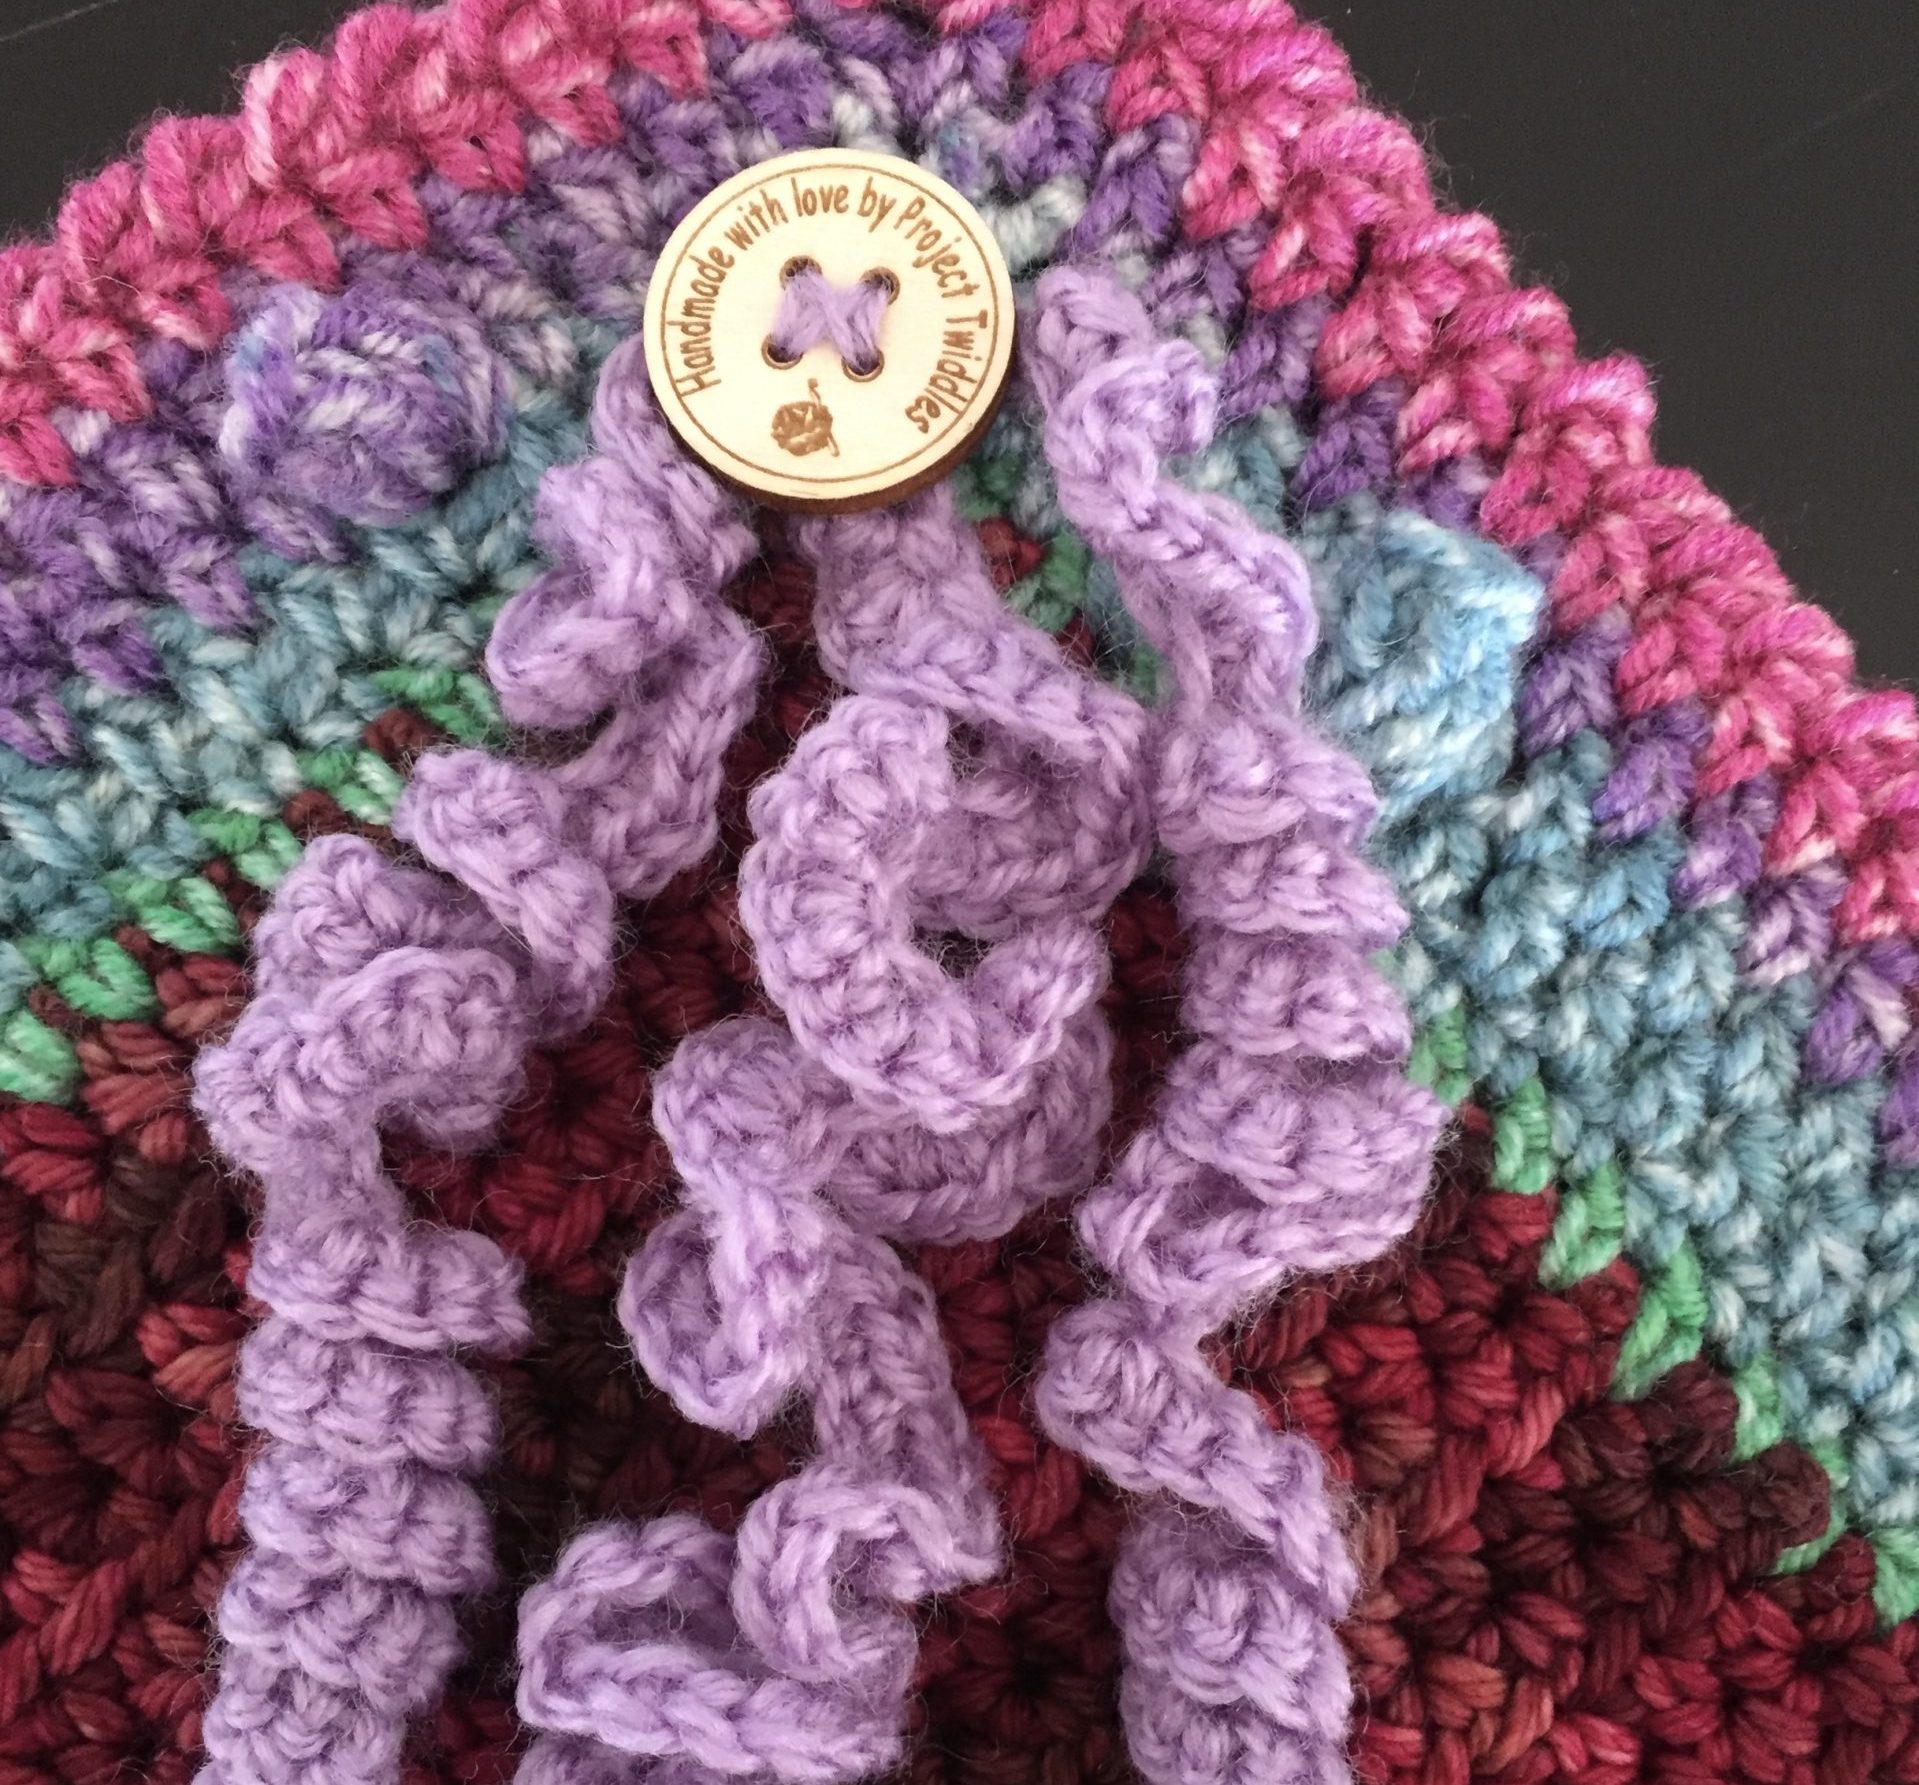
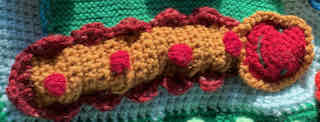
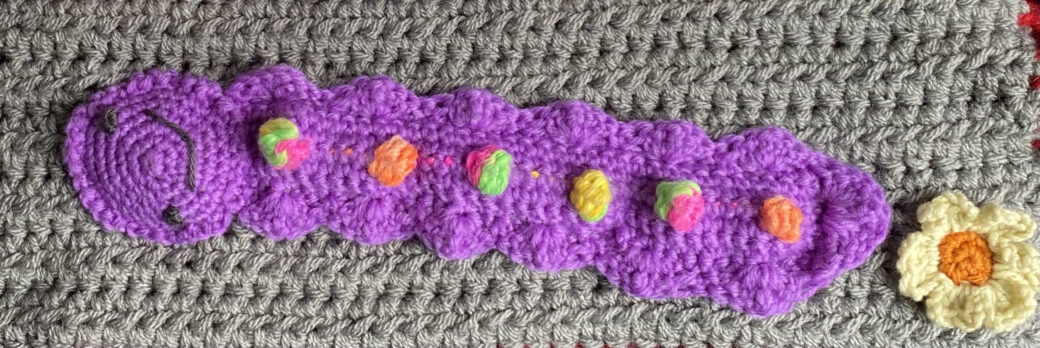
In the following photos I have adapted the basic pattern by including bobbles, twirls and range of colours.
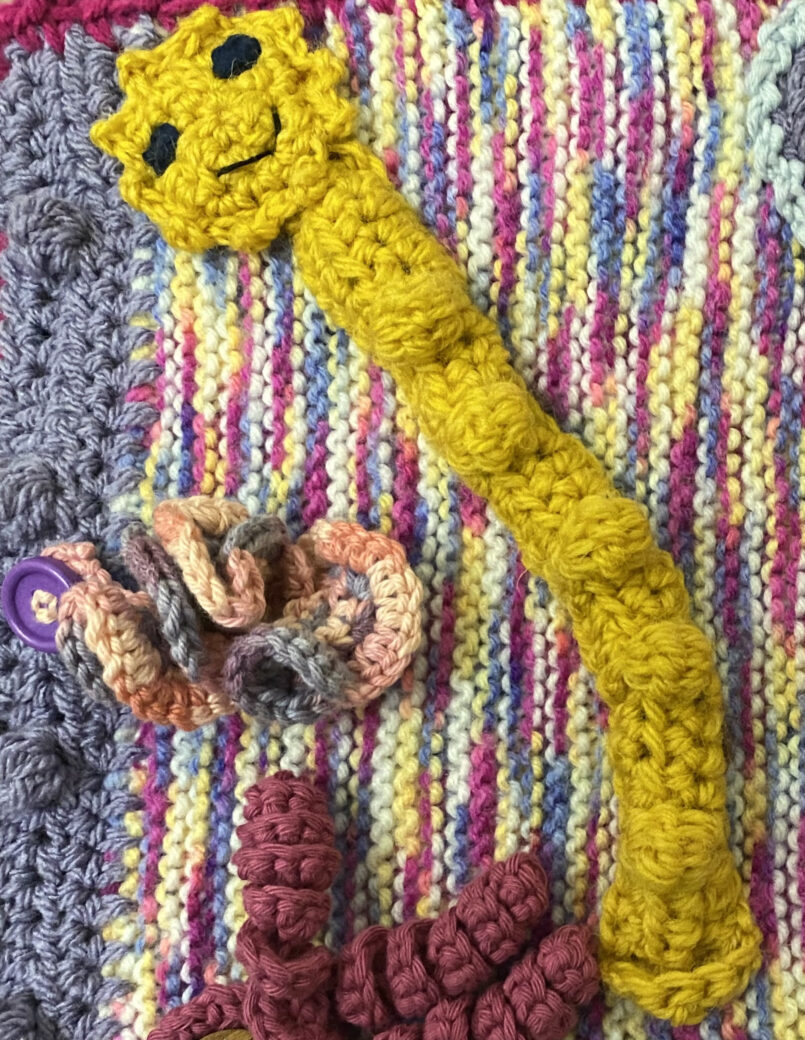
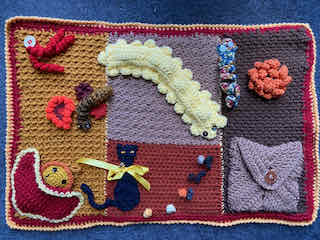
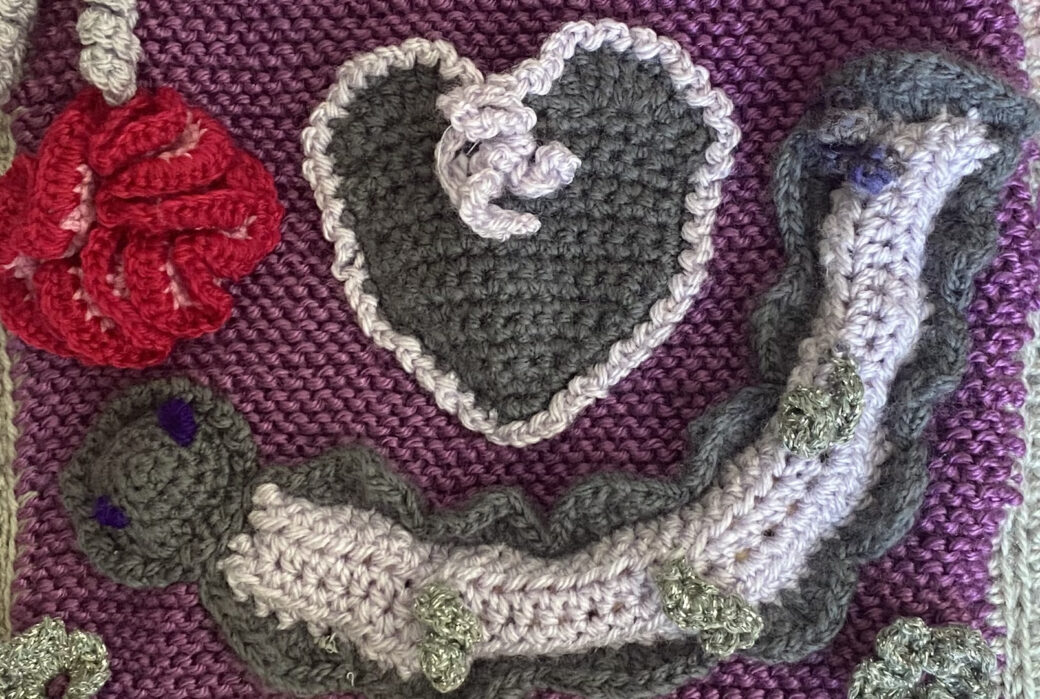
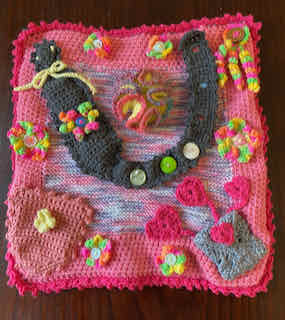

Such a fun twiddle item to make. I hope you have lots of fun creating your creepy crawlies.
Happy creating everyone.
Sandra @ Project Twiddles
